The key to success is the proper synchronization between sensor data and video time information. To get this to work, you need to know when or from what line the sensor data matches your video recording.
The different methods and scenarios that can be followed during the recording of a session are described in the section Synchronization Scenarios.
Depending on the scenario used in your situation, you need to pick the right settings during the import.
Start Import from a Specific Value
If your data contains a specific marker that specifies the data line from which the data should be imported, in order to be synchronized to the video, you can here specify the column as well as the marker to look for.
If your data does not contain such a marker, skip this page by clicking Next.
Note: For an example of this synchronization principle, read the topic VideoSyncPro-based Import.
Enables you to skip all data before a specific marker in your data. This can be a specific time value or a marker inserted into your data file for syncing purposes or anything else.

▪Select the Import data starting at a specific marker option if that is what you need.
▪Select the column in which this data is available.
▪Enter the value from which the import should start.
▪Click Next > to continue
Note: This is important for all Mangold Lab customers using one or more VideoSyncPro recording stations
•
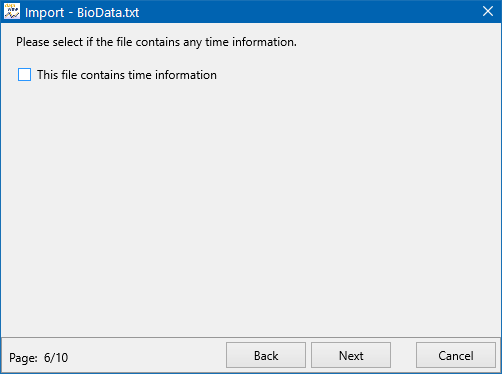
Time Information
On this page, you tell DataView if your sensor data file holds time information per line or not. Data without time information receives a time stamp during import, based on the sampling rate you specify.
Note: Even if your sensor-data contains time information per line, it is usually advisable to ignore that time value and specify the actual sampling rate instead.
This only applies to fixed sampling rates of course.
If your sensor-data was not recorded in a fixed sampling rate, but file holds any kind of time information, this information can be used.
DataView accepts various formats of time information like milliseconds, seconds, minutes, number of video frames, or regular time code information and samples per second (Herz) or minute.

Depending on you answer in this dialog the wizard will differ a bit later on.
•Select or clear the check-box This file contains time information, depending on your data.
•Click Next to continue.
Depending on whether or not your file contains time information, the wizard continues differently:
| Time information available - If you told the wizard that your data contains time information, the wizard will now continue with Time format and Synchronization. |
| NO time information available - If you said that your data does not contain any time reference, the wizard will continue with Line distance |