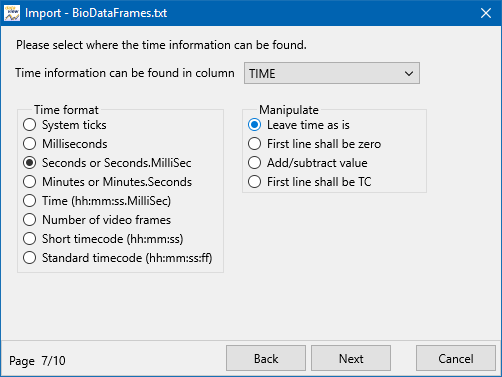
If your data contains time information, this dialog enables you to specify what type of time information can be found in your data AND it offers various possibilities to alter the available information, in order to get a proper synchronization with your video(s).
Note: Even if your sensor-data contains time information per line, it is usually advisable to ignore that time value and specify the actual sampling rate instead.
This only applies to fixed sampling rates of course.
The available time reference can be any of the formats available in the dialog below:

▪Choose the column, containing the time information, from the drop-down menu.
▪Select the time information format that is available in the selected column.
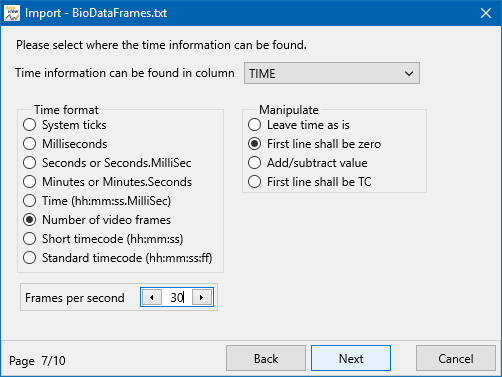
Frames and time codes
In case of a time reference in frames, don't forget to fill out the number of frames that represent a second (this could differ from the fps of the video).

IMPORTANT: During the import, all time information is transferred into its millisecond value!
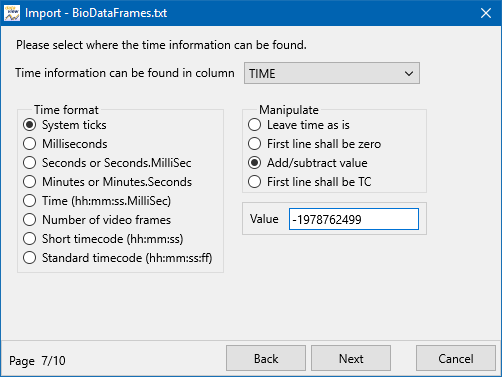
System Ticks
In case the time reference is available in form of system ticks (as you get from eye-tracking data), then you can also define how to manipulate this data. The system ticks usually start from a system predefined date way back, which will result in time stamps much too high to match the video.
This is why DataView offers you various procedures to manipulate the time information, to ensure your data matches the video time stamps.
Synchronization Methods
Independent of the type of available time information, the following manipulation routines, allow you to easily adapt the available time information to match the video time.
This is VERY important for the synchronization proses!
Synchronization between video-playback and sensor-graphs is based on the millisecond value of your data lines AND the time value displayed during video-playback in INTERACT.
oLeave time as is - You can leave the time information as it is. This means the first line matches the start of your video and the time information either starts at zero (like any regular video) or you have shifted the playback time of your video in INTERACT to match the real life time information which might also be stored in your sensor data file.
oFirst Line shall be zero - You can tell DataView, that the first data line should start at 00:00:00:00, because that matches the start of the video. Then DataView decrements all time values by the first time value.
Example: If you subtract the first-time value from each time value, the new time value of the first line results in 00:00:00:00, the second line reflects its original value minus the first value, the third line again its original value minus the first value and so on. Very handy for eye-tracking data, because the video recording always starts from 00:00:00:00, whereas the tracking data is usually based on the system time. Thus, you must 'move' the eye-tracking data, to be in sync to the video. This can be done through DataView automatically, as described.
oAdd/subtract value - You can add or subtract any arbitrary value. If you want to subtract a specific value, add a minus sign (-) in front of the number.

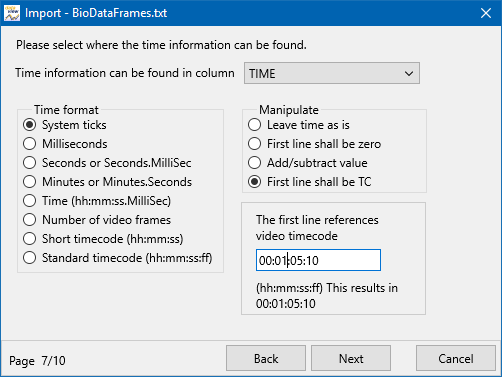
oFirst Time shall be TC - This last option offers you the possibility to sync the first data line to to any required time code value, for instance that of a specific Event that marks the moment where the sensor data recording was started. This is useful if your video starts before the sensor data started or if you cleaned your sensor data to match a know point in time in the video:

▪Click Next and continue with Decimal separator.