IMPORTANT: This feature requires an additional license. Contact us at sales@mangold-international.com for further information.
If your setup includes a Media Database license, you are able to send audio, video and image files to a Media Screen on an external device that is part of your Mangold Lab network.
Fill Media Database
This Media-database is part of a special local web-server installation that now comes with VideoSyncPro Studio. How to install and configure this web-server and how and fill this media database with your media files is described in the Check-It documentation.
Create Media Screen
To display media over the network using VideoSynPro Studio in combination with the Mangold Check-It webserver, you need to create a Viewer objects on which you can display the file.
Devices that should display the same file can access the same Viewer object.
Per scenario in VideosSyncPro Studio, you can define a different number of Viewers:
▪Click on the Media list button in the bottom left corner of the Scenario Properties:
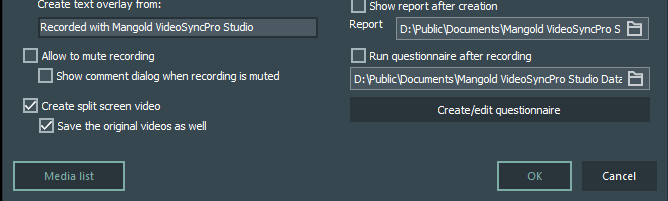
Note: If the Media list button is grey, either the Media Database license is missing, or the Web-server is not running.
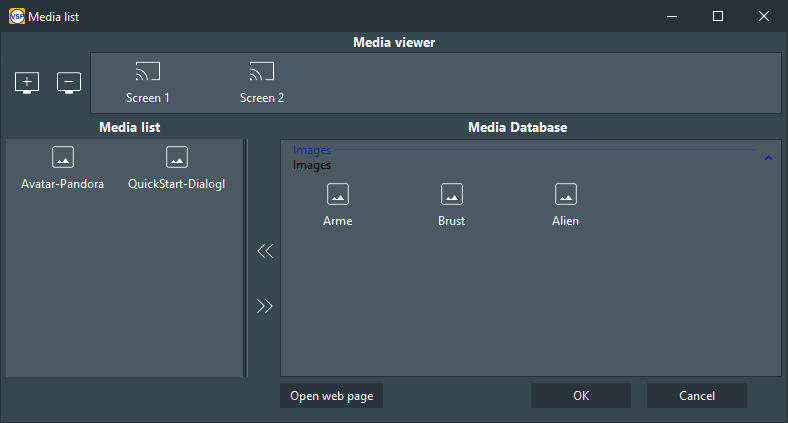
The Media list dialog opens and the top part of that dialog allows us to define Viewer objects that can be used to display your media:

▪Click on the Screen Plus icon to create a new Viewer element.
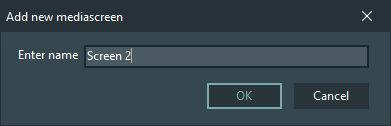
▪Enter a descriptive name for that Viewer or screen and confirm with OK.
▪Create as many Media Screens as required.
Note: Media Viewers or Screens can be accessed through a Browser.
The VideoSyncPro Studio operator can send a file to any media screen, any time.
Assign Media to a Scenario
Which media is available during a recording is specified in the same Media list dialog.
The largest part of this dialog shows all media files as available in the Media database.
To access specific files during a recording session, you need to add these files from the Media Database to the Media list of the current scenario:
▪Drag & drop the required file from right to left, or use the arrows between the two fields.
The name of the file now appears in the Media List section at the left side of this dialog:
Note: Only media that is part of this Media list can be used as Scenario Media during a recording session.
▪Once all required media files are assigned to the current Scenario, confirm your changes with OK.
▪Read Media Distribution to learn how to use this media during a recording session.