In order to control an Axis IP speaker in VideoSyncPro Studio (e.g. "push to talk" in the recording room), it must be installed and configured similar to the IP cameras.
Configure Axis IP Speaker If your setup includes network speakers, like the C1410, this is how it works: ▪Make sure that the speaker is connected to the same switch as the lab IP cameras. Note: The network switch port must be a POE port (Power over Ethernet), as it must supply the speaker with the required power. |
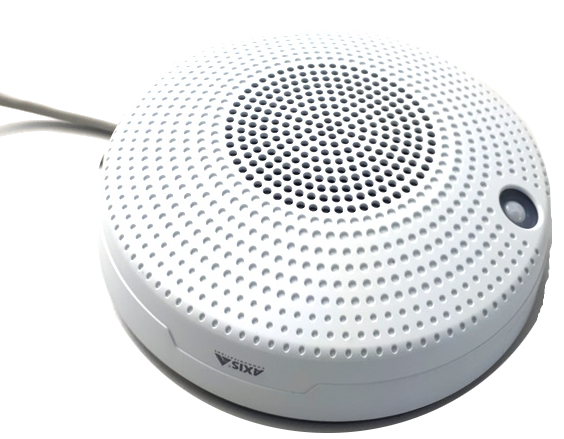 |
▪Navigate in the Explorer to the Axis 'IPUtility.exe'
(C:\Programs\Mangold VideoSyncPro Studio\Utilities).
▪Right-click the IPUtility.exe and select Run as administrator from the context menu.
All enabled cameras and Axis modules are displayed:
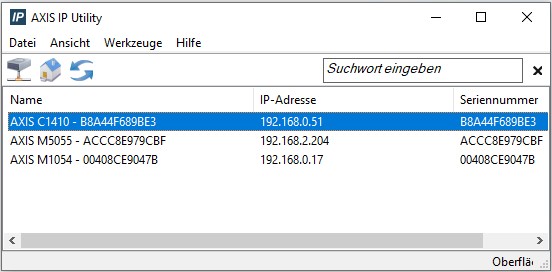
Double-click on the entry of your speaker to access the web-based backend of the device.
First Time Access When setting up a new device for the first time, specify the following account details for the root-login: oUser : "root" oPassword : "Mangold" |
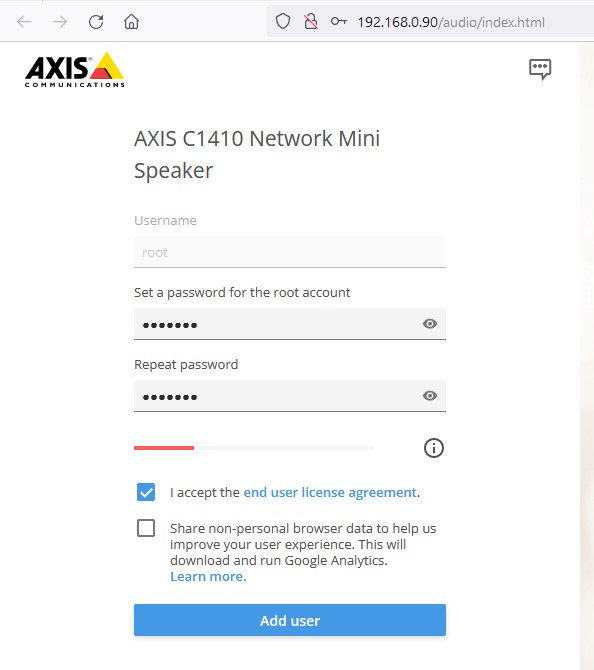 |
Use these credentials to log-in on the Axis device firmware:
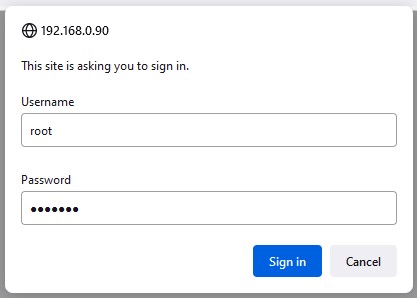
▪Navigate to System > Network in the menu on the left side.
▪Enter a unique IP number for the speaker that fits your camera network range;
by default we use the IP address 192.168.0.51
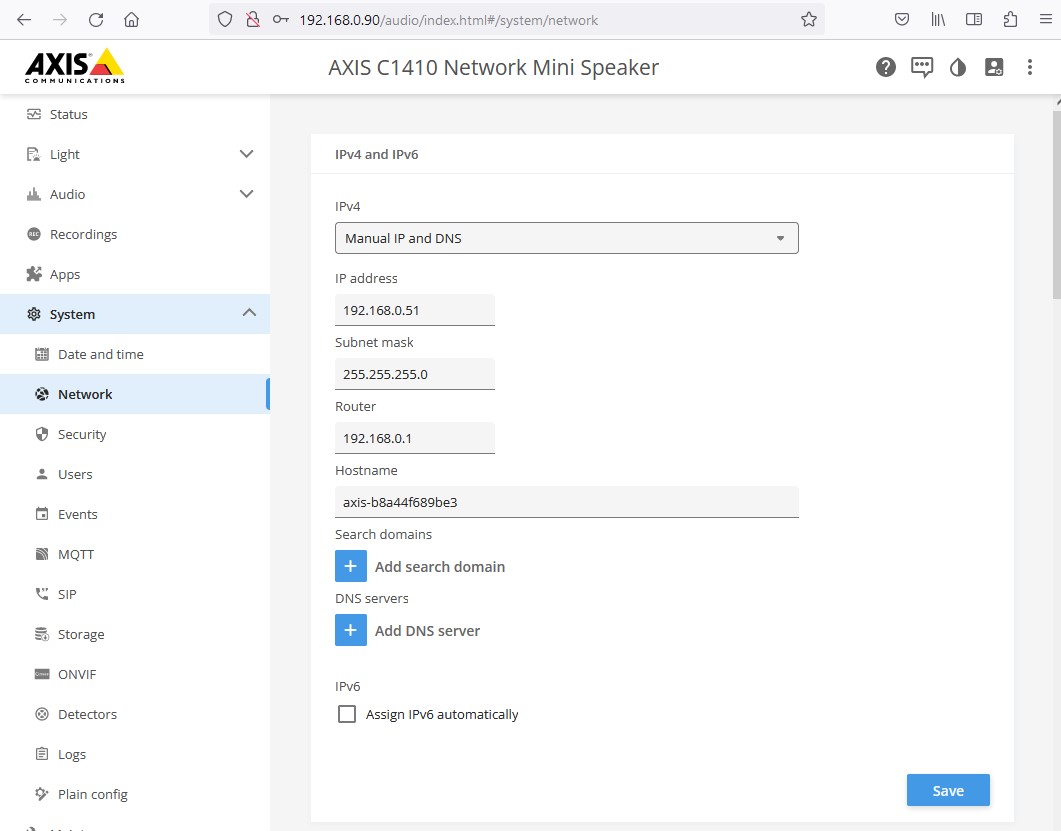
▪Click Save to confirm these new network settings.
Changing the IP number forces a re-connect. Should you not be re-connected automatically, use the new IP number to do so manually.
▪Navigate to System - SIP settings in the menu on the left:
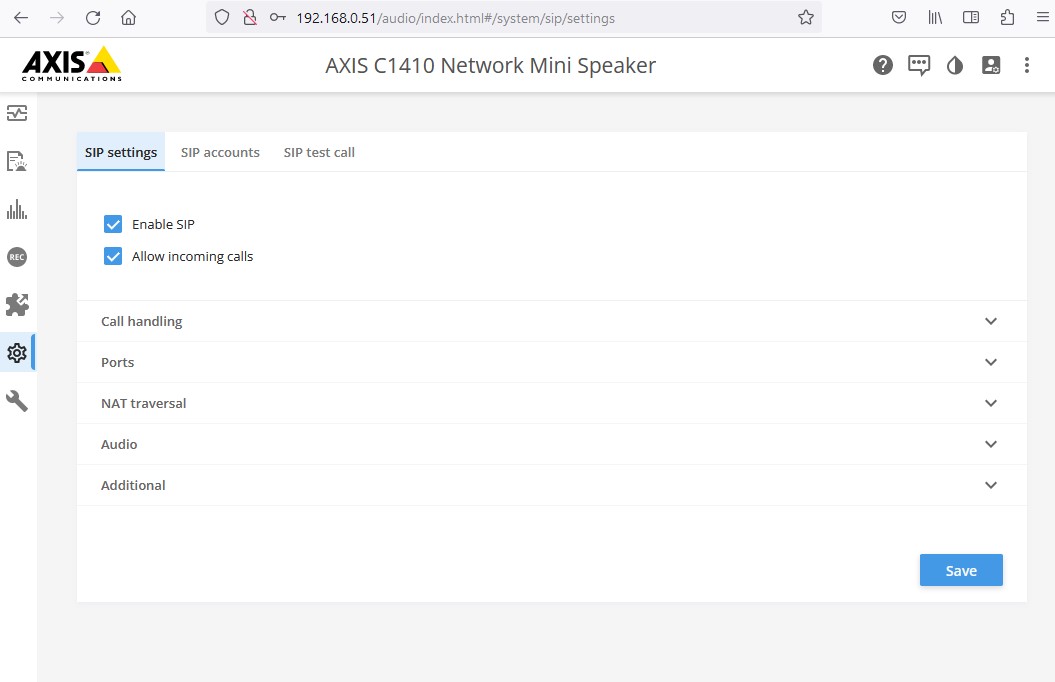
▪Activate the Enable SIP option.
▪Enable the option Allow incoming calls.
▪Unfold the Call handling section:
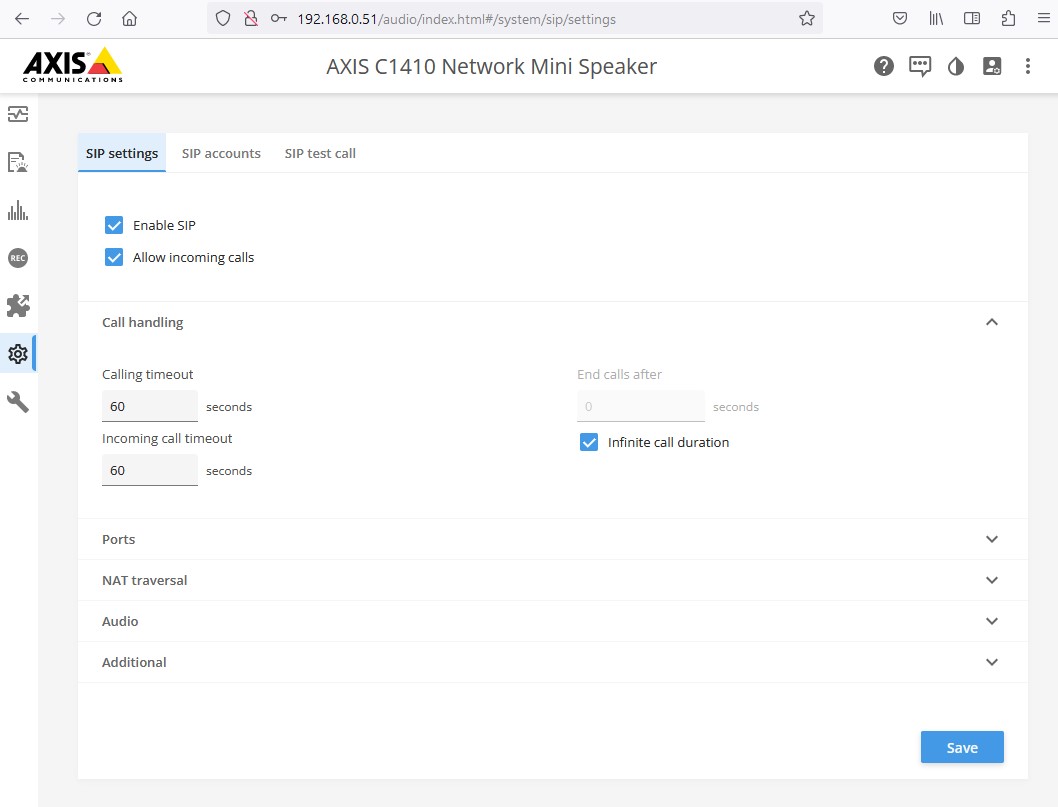
▪Activate the Unlimited call duration option .
▪Once the required settings are activated in the speaker configuration, save your changes in the web portal.
▪You can now add the device to the Common Sources in VideoSyncPro Studio.