If you want to record a local screen on the VideoSyncPro Studio computer, or the screen content on a mac or iOS device, you can do so using the NDI tools—provided the computer is powerful enough.
Note: To record screen content from external computers, we recommend a physical connection using a CamLink adapter (HDMI->USB) or a TBS (HDMI->LAN converter) due to the generally higher stability.
Installing NDI Tools
▪Download and run the installer that fits the operating system with the screen to be captured:
https://ndi.video/type/ndi-tools/
▪Confirm the default installer wizard dialogs to allow proper installation.
▪Should an error message concerning creation of a data directory appear, simply confirm with OK. It is not relevant for us.
Configure NDI Screen Capture
⟡Start the NDI app just added.
⟡On first startup, you need to register in order to proceed.
When all is well, the NDI Tools start window appears:
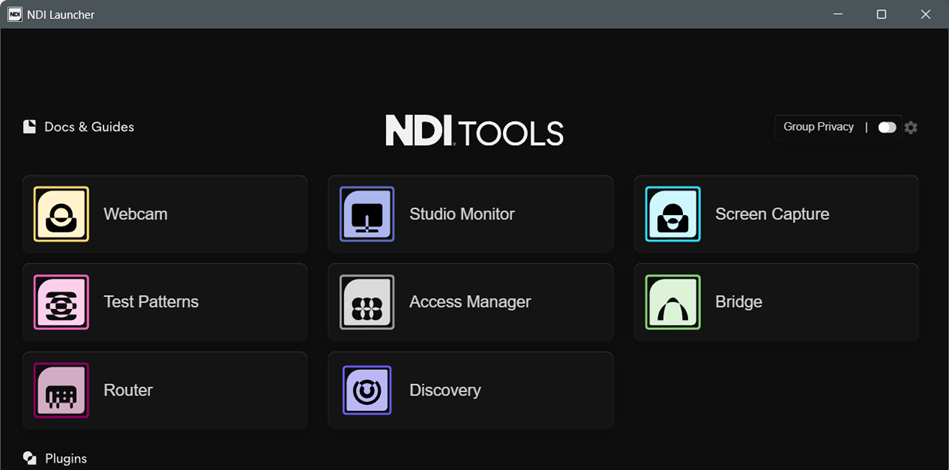
⟡Click the Screen Capture module (Scan Converter on macOS).
A notification of where to find the available settings appears in the lower right corner:
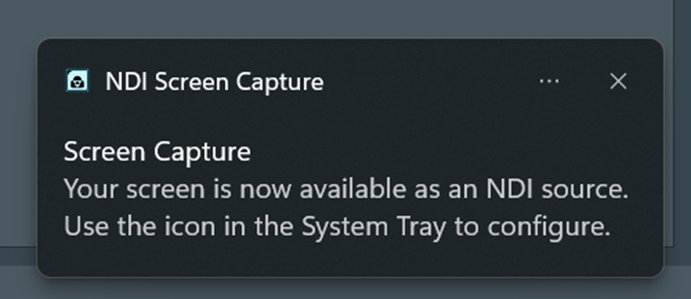
⟡Right-clilck the Screen Capture icon, now available in the tray area in the lower right corner of your screen:

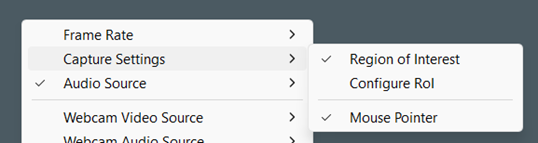
To record the whole screen:
•Clear the option Capture Setting > Region of Interest
To record a predefined area:
•Activate the option Capture Setting > Configure Rol.
•Position and re-size the now appearing frame to define the area to be recorded.
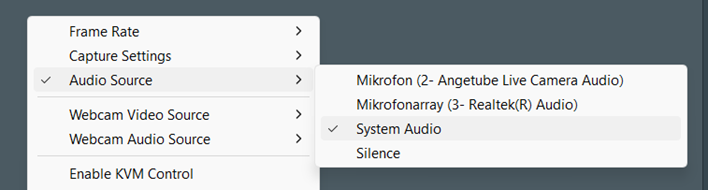
•If required, change the audio source for the NDI-stream to your needs:
Auto-Start Screen Capture Stream
To ensure that the NDI-stream is available automatically, activate the auto start feature:
•Click on the small settings icon in the top right corner of the NDI Tools main window. •Activate Screen Capture among the Launch at System Startup options.
Note: How to create an NDI-stream-based source in VidedeoSyncPro is explained in the section Add Windows AV-Source. |
